Okay, so I’ve told you how awesome Gmail is and how it’s really made a difference for my business, so I suppose it’s time I let everyone in on the secret of setting up Gmail for your business domain. Truthfully, it’s a pretty simple process and no one should have any issues setting it up. If you have any questions, feel free to let me know in the comments, and I’ll be happy to help you figure out what went wrong.
Here is what you need to get started:
- Domain
- Hosting Account
And that’s it! That’s all it takes to use Google Apps, and chances are if you are already using a custom business email running POP3, you’ve got everything you need already.
That being said, let’s get started on installing Google Apps…
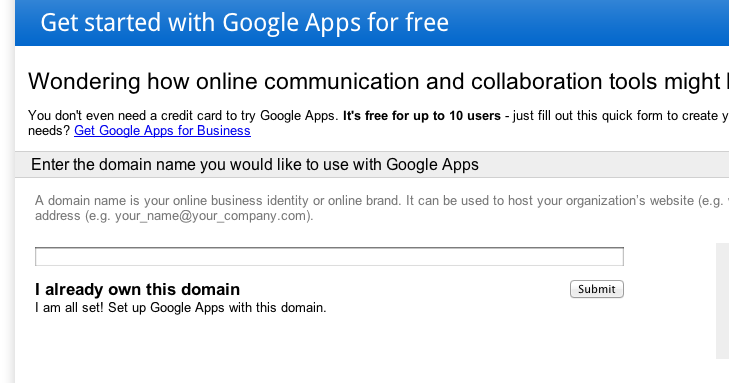
The first thing you’ll want to do is head over to the Google Apps Signup page, which looks something like the following:
The first thing you’ll want to do is type in your domain in the text box and hit Submit.
This will bring up a signup form. Most of this information is very standard, so we won’t cover most of it here, but there is one part in particular I feel needs to be pointed out. You will be asked to create your first email at the following window:
This account is your Super Admin. This is the account you’ll need to log into to make changes to your Google Apps account. It’s the account that has the power to add new users, reset passwords, and manage the permissions of the system. This is the most important account in your Google Apps. Remember it.
After you’ve filled out the rest of the mostly generic information in the sign up form, hit the big blue I accept! Create my account! button to move into the next step of the process:
On the next screen, you’ll be taken to a rather lengthy wizard process. Most of this information is just marketing fluff and can be skipped. (We will cover only the vital parts to get moving in this tutorial, everything else in between, just assume you can hit Next to get through it. I am hoping to make this tutorial as clear cut and simple as possible.)
Eventually, you’ll reach a point asking you to Verify Your Domain. This part requires you to have at least FTP access into your account, but for this tutorial we will use cPanel as that’s the most popular and common file management interface provided by hosting companies.
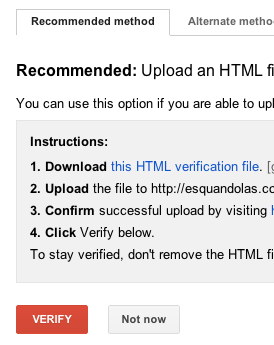
First thing you’ll want to do is download the Google Verification File provided by Google on the Verify Domain screen. It’s the blue link shown below in Step 2 reading this HTML verification file.
Once you download it, it should look something like this: google28937492837492832.html. Don’t share this file with anyone, as it’s unique to your account and should be kept fairly protected; though, it’s not mission critical if it gets leaked out.
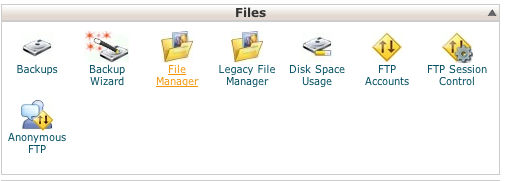
Once you have that file, head over to your cPanel/Hosting backend and locate File Manager under Files as shown below:
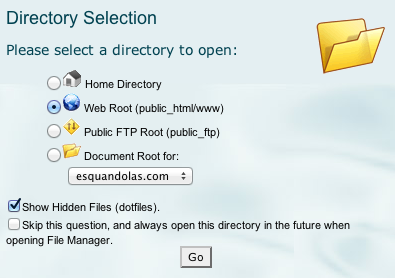
When prompted, be sure to select your Web Root as the default directory as shown below. This is where we will want to upload the file. It’s called the Public_Html folder.
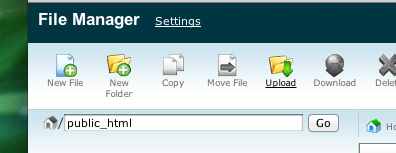
Once in the File Manager window, be sure to verify you are indeed in the public_html folder and select the Upload button as shown below:
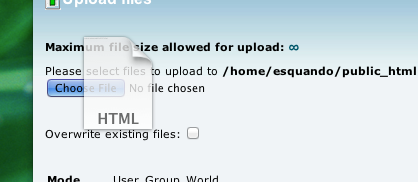
Once on the upload window, use the Browse button to locate the Verification File and let it do its thing:
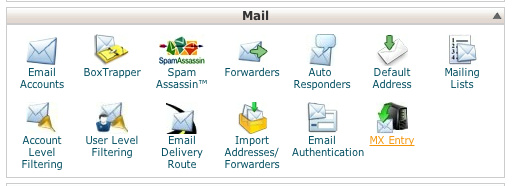
Once the upload is complete – it should happen almost instantaneously due to the small file size – head back over to your main cPanel/Hosting window, and locate a section called MX Entry under Mail as shown below:
Once in the MX Entry screen, the first thing you’ll want to do is scroll to the bottom and hit Delete on anything that’s currently setup there. This will kill your mail, so be ready for that, but don’t fear as it will all come back on Gmail soon!
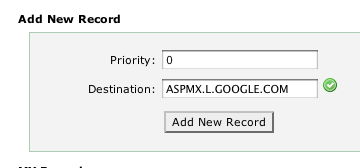
Once you’ve got everything deleted, scroll up a bit and look for the Add New Record section and set the new record as follows:
- Priority: 0
- Destination: ASPMX.L.GOOGLE.COM
As shown below:
If your screen looks the same as the graphic above, feel free to press Add New Record.
Once that’s done, you can close out of your cPanel account. We’ve done everything we need on the hosting end. The only thing left to do now is configure the rest of the information on Google’s end.
Return to your Setup Wizard and select the big red Verify button at the bottom of the verification window. If you’ve done everything on the server correctly, you’ll get a success message that looks something like this:
Once you get back to the Wizard, you’ll hit Next a bunch of times. Again, this is nothing but marketing fluff and you are not missing anything by skipping it.
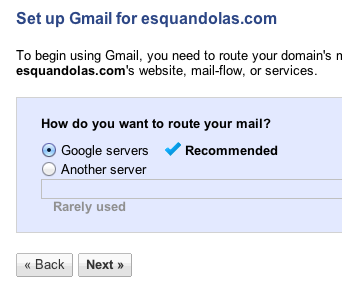
The next critical step you will get to will ask you to “Setup Gmail for YourDomain.com”. Thankfully, we already did this. While we were in cPanel, the MX Entry we setup before took care of this. All you have to do is be sure you check Google’s Servers, as shown below, before you hit Next and you’ll be fine!
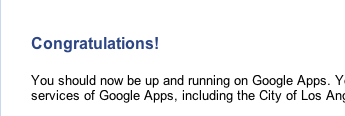
After that, you’ll Next your way to a success screen that looks something like the following:
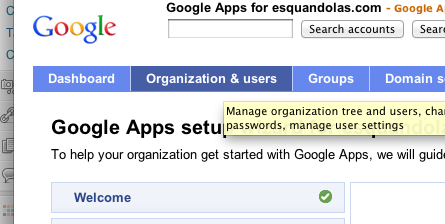
At that point, you’ve done it! You’ve successfully setup Google Apps on your domain! The only thing left to do is create your user accounts for Gmail. On the top of your navigation bar, you’ll see an area called Organizations and Users. Select it.
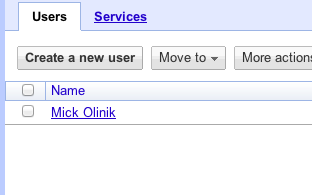
In here, you’ll see your original user account you created in the first form, and you’ll see a button that says Create New User. This is where you’d want to go to create additional emails for your staff.
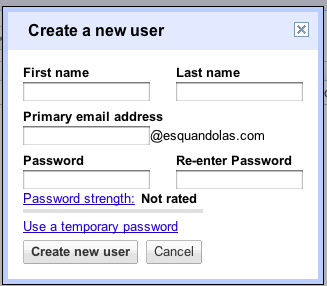
To create a new email simply select Create a New User and fill in the simple form with your name, email, and password, as shown below:
Once you’ve filled this out, simply hit Create new user and repeat this step as often as needed for your business.
Now that you’ve got your custom Gmail setup, the only thing left to do is login to your account. Simply head over to Gmail.com and login using your full email and password. You’ll be automatically redirected to your account from there.
That’s all folks! Welcome to the future of email!


